Introduction:
Feminine Nail Art for Beginners: Simple and Stylish Designs
The Appeal of Feminine Nail Art
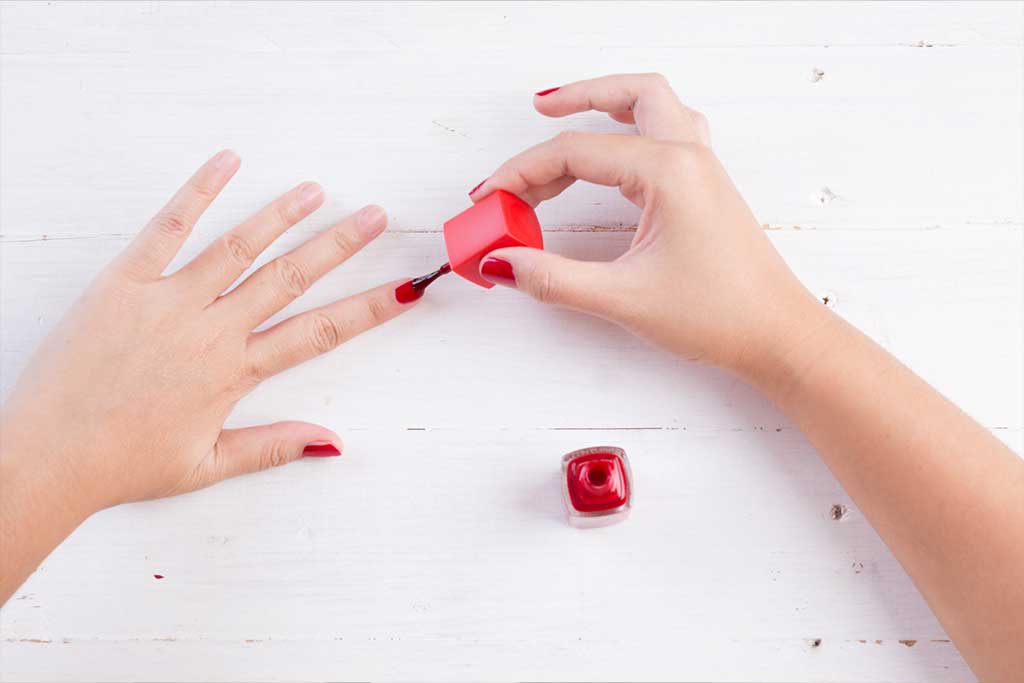
Nail art is more than just a beauty trend—it’s a creative expression. For many, feminine nail art for beginners serves as an approachable way to showcase personality, boost confidence, and experiment with new styles. Whether you’re dressing up for a special occasion or simply want to add a touch of elegance to your everyday look, beautifully polished nails can make all the difference. It’s a small yet powerful form of self-expression that subtly elevates your overall appearance..
Adding Personality with Nail Polish
When it comes to enhancing your feminine look, experimenting with different nail art designs can be a fun and easy starting point. Nail polish offers endless possibilities to personalize your style, from soft pastel shades that exude simplicity and charm to bold glitter accents that grab attention. Plus, even if you’re new to this, you don’t need to be an expert to achieve beautiful results. With the right tools and a little creativity, you can master simple nail art designs that look professional and polished.
Beginner-Friendly FeminineNail Art Techniques
In this guide, we’ll walk you through some of the most popular and beginner-friendly nail art techniques to help you get started. If you’re curious about how to create elegant French tips, incorporate soft pastel colors, or add just the right amount of glitter for that extra sparkle, you’re in the right place. These simple, stylish ideas will help you experiment and build your confidence in creating your own unique looks.
By the end of this guide, you’ll have all the basics you need to start experimenting with your own feminine nail art at home—whether you’re going for something timeless and chic or trendy and playful. So, grab your favorite nail polish shades, and let’s dive into the world of stylish nail art!
1. Getting Started: Nail Art Essentials for Beginners
When diving into the world of feminine nail art, having the right tools and techniques at your fingertips is key. Even as a beginner, you can achieve salon-worthy results with just a few essential items and a little bit of patience. Let’s walk through the basics to help you get started on your nail art journey.
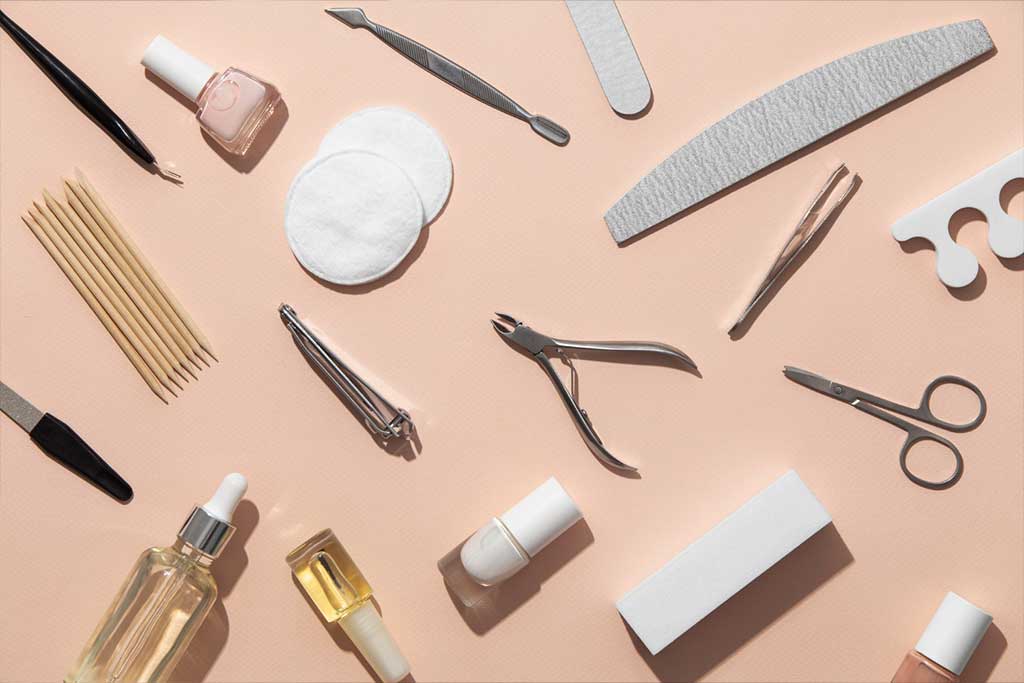
Tools You’ll Need
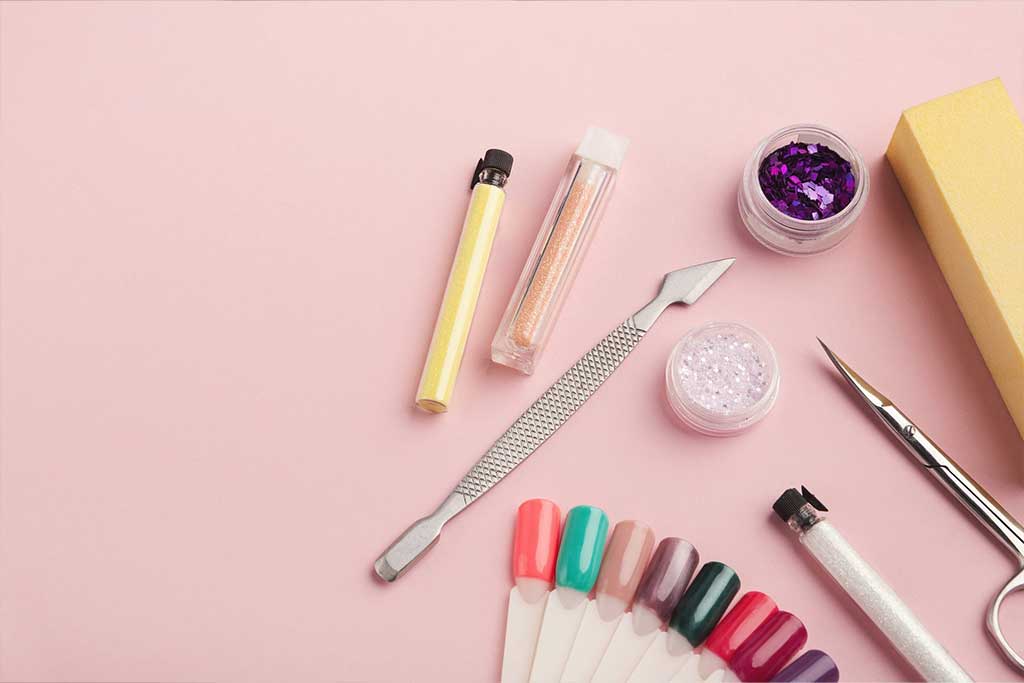
Before you start experimenting with nail art designs, gathering the right supplies will make the process much smoother. Here’s a quick checklist of must-have tools for beginners:
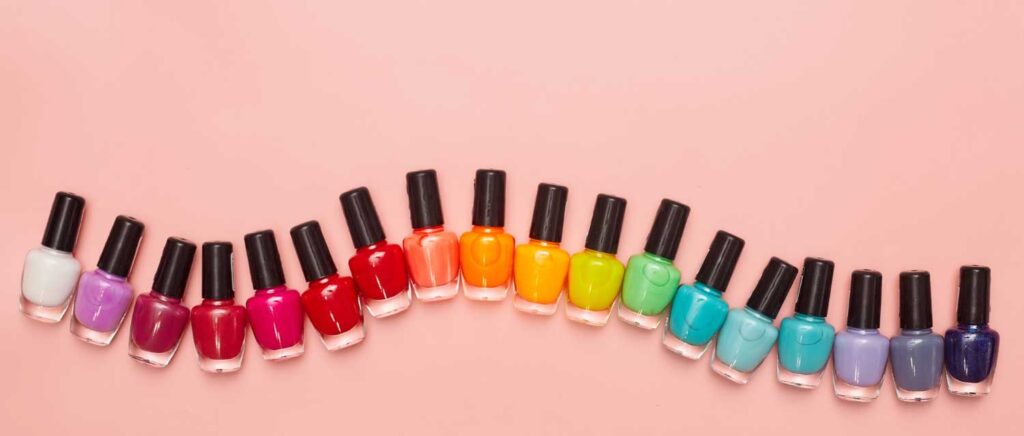
Nail Polish in Basic Shades
For any beginner, having a selection of nail polish in basic shades is essential. Start with timeless colors like soft pastels, classic nudes, or delicate pinks. These shades are easy to work with and give your nails a subtle, feminine touch. They also serve as a perfect base for more intricate designs, like French tips or glitter accents.
Clear Base Coat and Top Coat
A clear base coat is crucial to any nail art routine. It helps protect your natural nails from staining and ensures that your polish adheres smoothly. Equally important is the top coat, which locks in your design, adds shine, and extends the life of your nail art. Without these essentials, your nail art is more likely to chip or lose its luster quickly.
Nail Art Tools
For simple yet creative designs, a few basic nail art tools will take your game to the next level. Dotting tools, fine brushes, and even everyday items like toothpicks are perfect for beginners looking to add cute dots, delicate flowers, or geometric patterns. With these tools, you can create detailed designs even if you’re just starting out.
Nail Polish Remover and Cotton Pads
Mistakes happen, especially when you’re just starting with nail art. Having nail polish remover and cotton pads on hand will help you quickly clean up any errors without ruining the whole design. You can also use a small brush dipped in remover to tidy up the edges for a polished, professional finish.
Preparing Your Nails: The Foundation for Stunning Nail Art
One of the most overlooked steps in achieving beautiful nail art is nail preparation. Properly prepping your nails not only makes the application process smoother but also helps your design last longer. Here’s how to get your nails ready for a fresh coat of polish.
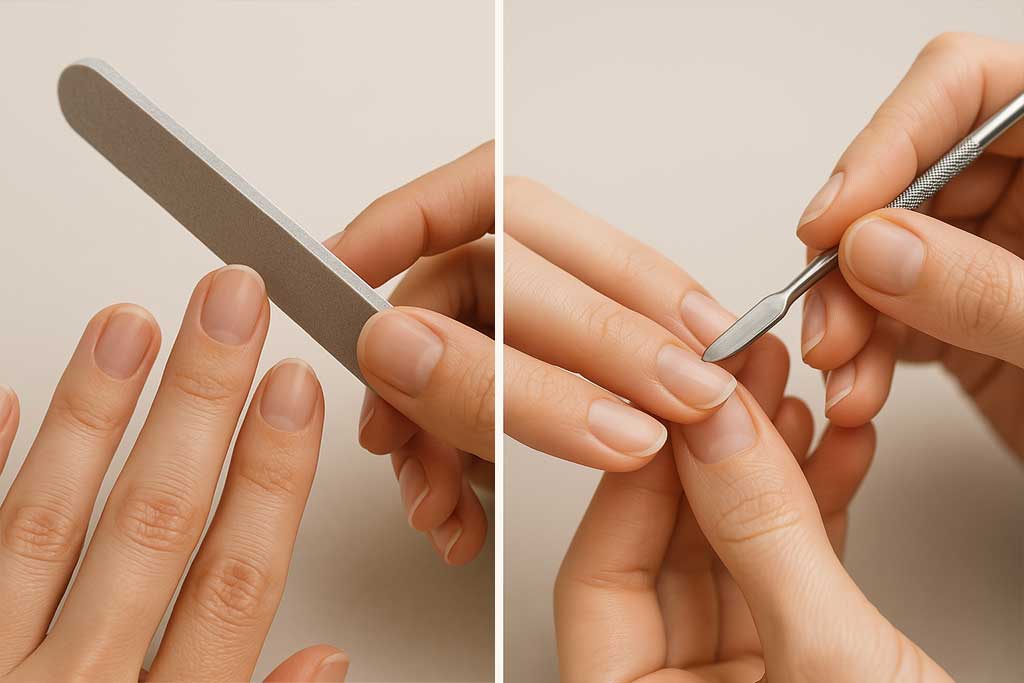
Shaping and Prepping Your Nails
Start by trimming your nails to your desired length, then file them into a shape that suits your style. Whether you prefer a soft oval or chic square shape, ensuring that your nails are smooth and even is crucial for a clean look. Don’t forget to gently push back your cuticles, as this creates more space for your designs and gives a neater appearance.
The Importance of a Good Base Coat
Applying a clear base coat before you begin any nail art design is non-negotiable. Not only does it protect your natural nails from staining—especially when using darker shades or glitter—it also provides a smooth surface for your polish to stick to. This simple step improves the longevity of your nail art, keeping it intact for days or even weeks.
For anyone exploring more feminine styles or experimenting with beauty for the first time, it’s helpful to understand that nail care and presentation go hand-in-hand with how you express yourself. Speaking of which, if you’re interested in breaking down misconceptions about gender and style, you might find this article on debunking crossdresser misconceptions insightful.
With the right tools and proper nail preparation, you’ll be well on your way to creating stunning, beginner-friendly nail art designs. Now that you’re equipped with the essentials, it’s time to dive into the fun part—experimenting with different techniques and styles that match your personal flair!
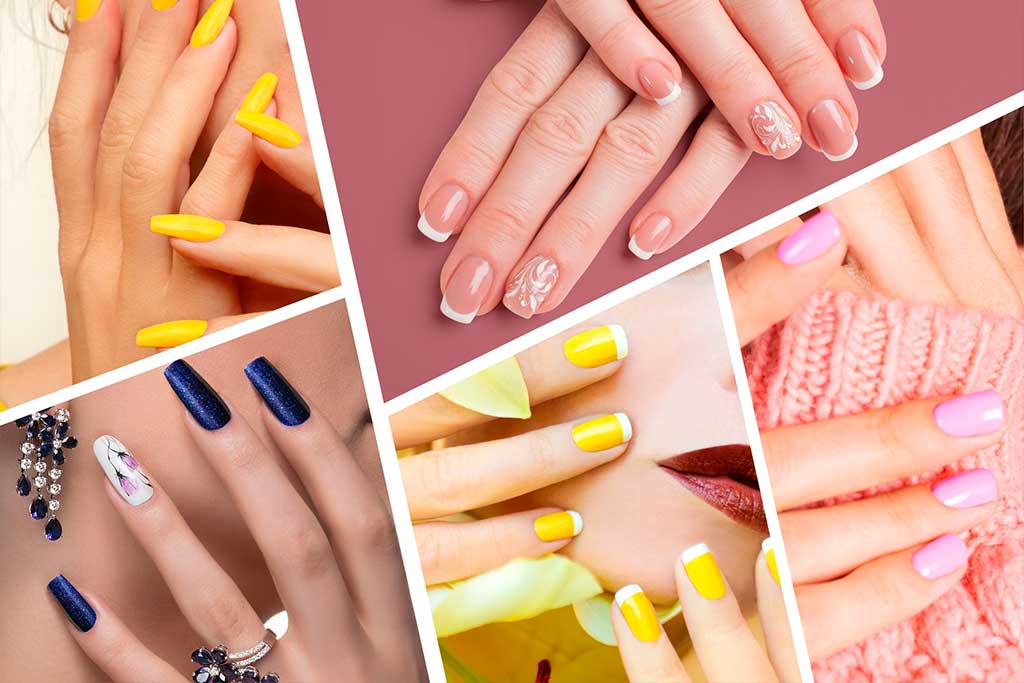
2. Simple and Elegant Feminine Nail Art Ideas
Experimenting with nail art can be an exciting way to express your style, especially when you’re leaning into a more feminine aesthetic. Whether you’re after a timeless look or want to add a bit of sparkle, these feminine nail art ideas are perfect for beginners looking to elevate their everyday appearance. Let’s dive into some easy and elegant designs that will have your nails looking chic in no time.
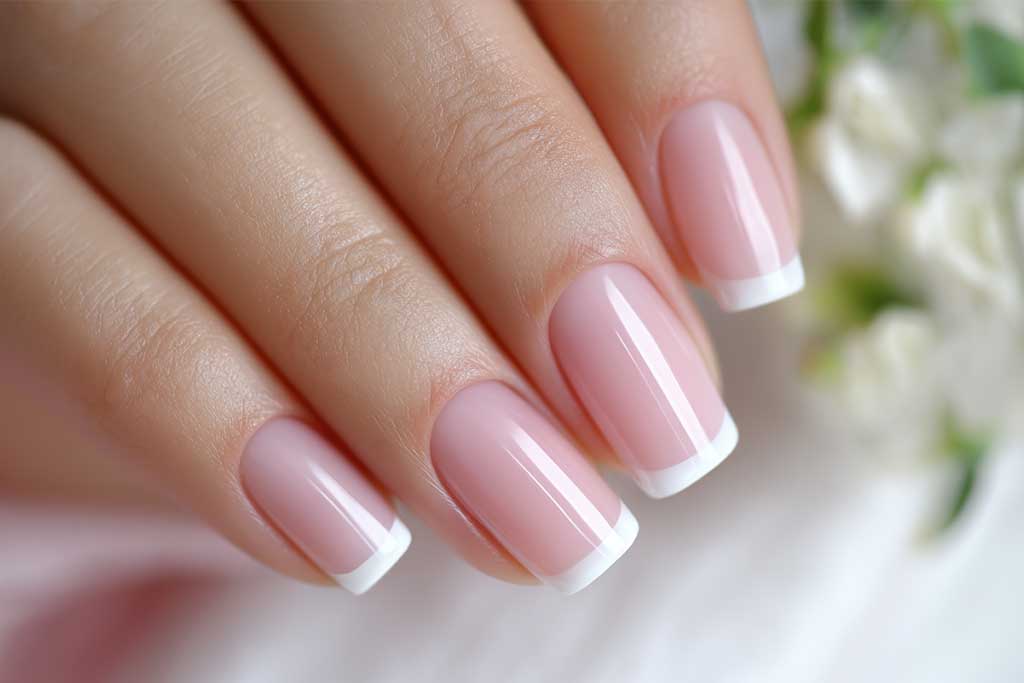
a. Simple and Elegant Feminine Nail Art for Beginners: Classic French Tips
The French manicure is a timeless, elegant look that never goes out of style. It’s perfect for beginners who want something sophisticated without too much fuss.
Step-by-Step Guide to Achieving the Perfect French Manicure
- Start with a Base Coat: Always begin by applying a clear base coat to protect your nails and ensure the polish lasts longer.
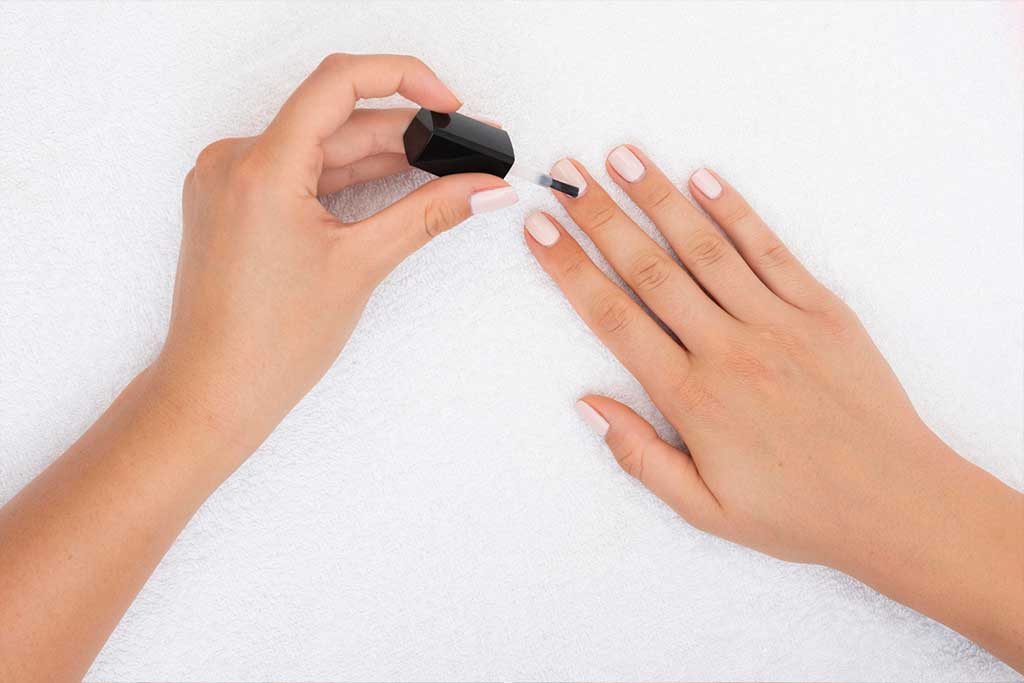
- Apply a Nude or Pink Base Color: Choose a soft nude or pale pink as the base of your French manicure. Let it dry completely before moving to the next step.
- Use Stickers or Guides: For beginners, using French tip guides or stickers is a great way to create crisp, clean lines. Place the guide just below the tip of your nails.
- Paint the Tips White: Apply white polish to the tips of your nails, being careful not to go over the guide. Wait for it to dry, then gently remove the sticker.
- Finish with a Top Coat: Seal the look with a shiny top coat to protect the design and give your nails a polished finish.
Tips for Beginners Using Stickers or Guides
If you’re new to French tips, nail stickers or guides are your best friends. They help create that perfect, sharp line without worrying about shaky hands. Simply apply the sticker, paint over it, and peel it away for a crisp finish. If you don’t have stickers, tape or even a steady hand with a small brush can also work.
Variations of the French Tip
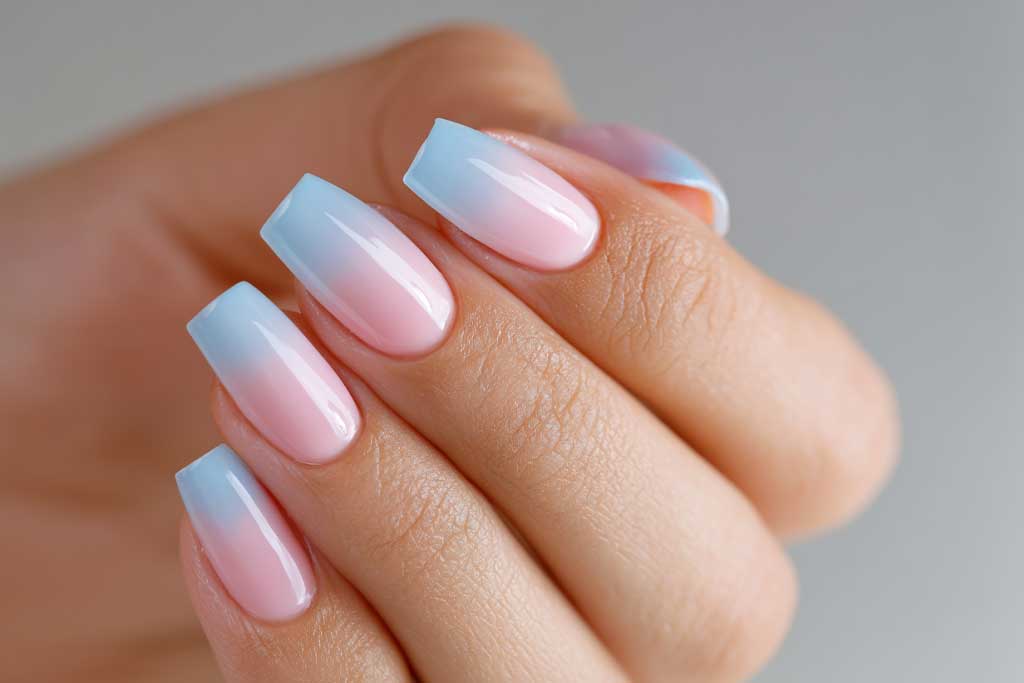
While the classic white tip is stunning, you can easily mix it up to make it more playful or modern. Try swapping the white for soft pastel colors like baby blue or lavender for a subtle yet stylish twist. For a bolder look, you could add a bit of glitter to the tips instead of using traditional white polish, giving your nails that extra sparkle.
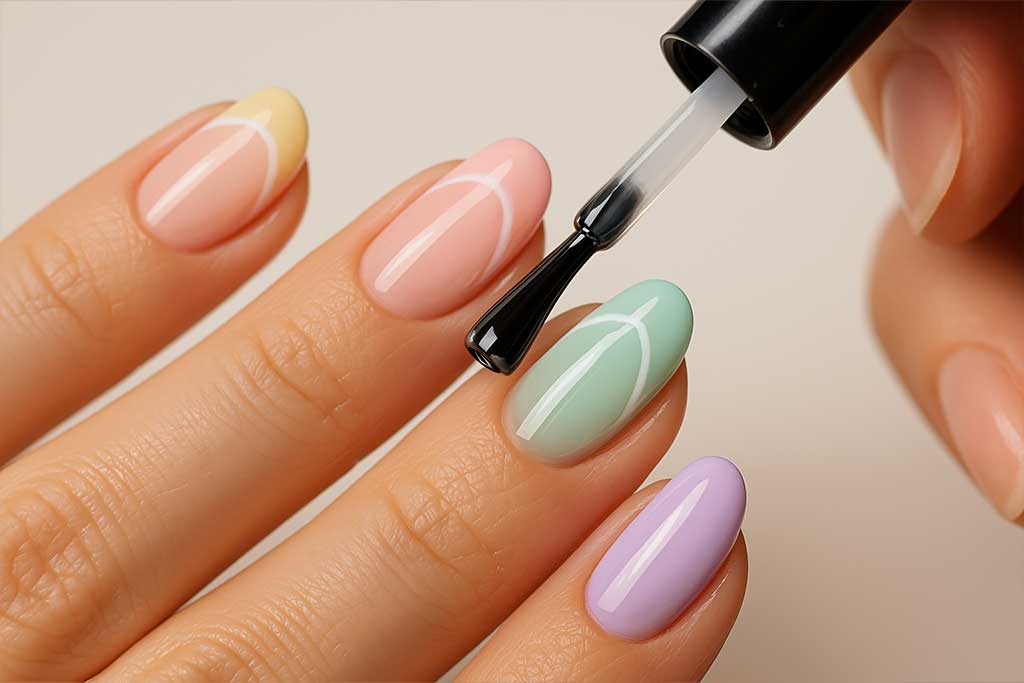
b. Pastel Perfection: A Soft, Feminine Touch
When it comes to feminine nail art, nothing beats the softness of pastel colors. These shades exude elegance, making them perfect for beginners who want a feminine touch without being too bold.
Why Pastel Colors Are Great for Beginners
Pastel nail polish is easy to work with because lighter shades tend to be more forgiving. Soft colors like pale pinks, mint greens, and baby blues not only add a feminine vibe but are also perfect for everyday wear. Plus, they go well with nearly any outfit, making them a versatile choice for those just starting with nail art.

Beginner-Friendly Shades
For beginners, it’s best to start with pastel shades that are easy to apply and work with. Some great options include:
- Soft pinks: A timeless, classic color that complements any skin tone.
- Lavender: Delicate and calming, perfect for a subtle look.
- Baby blues: A sweet, serene color that adds just the right touch of femininity.
Pastel Ombre and Gradient Looks
For a more creative take, try experimenting with pastel ombre or gradient effects. Begin by selecting two or three pastel shades, and then use a makeup sponge to dab them onto your nails, blending the colors together. This effect creates a seamless transition of colors that looks stunning and professional, even if you’re new to nail art.
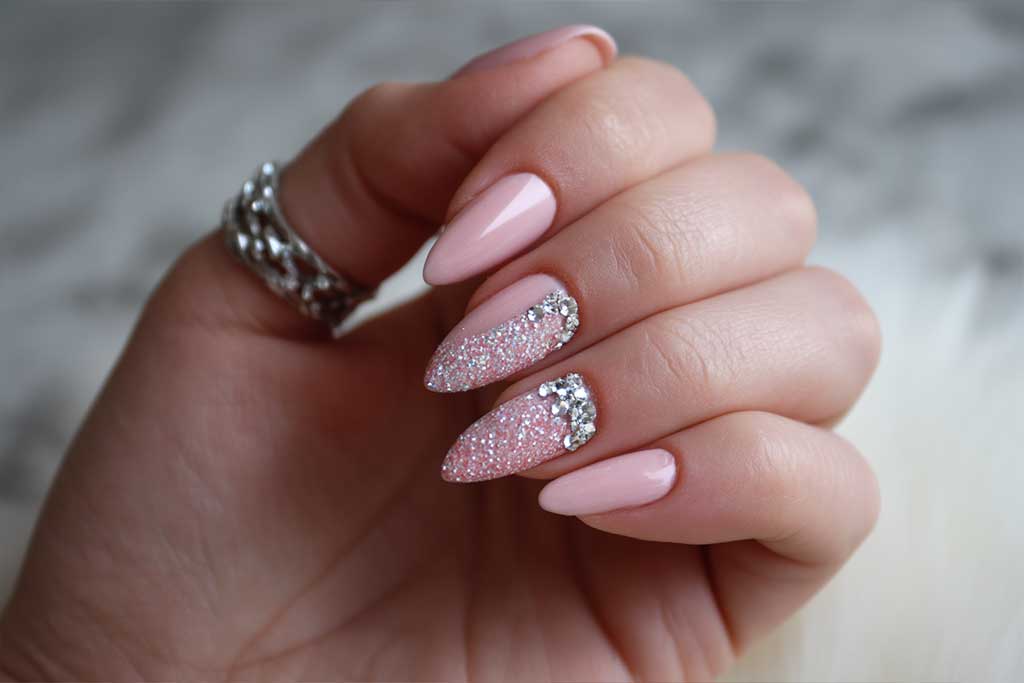
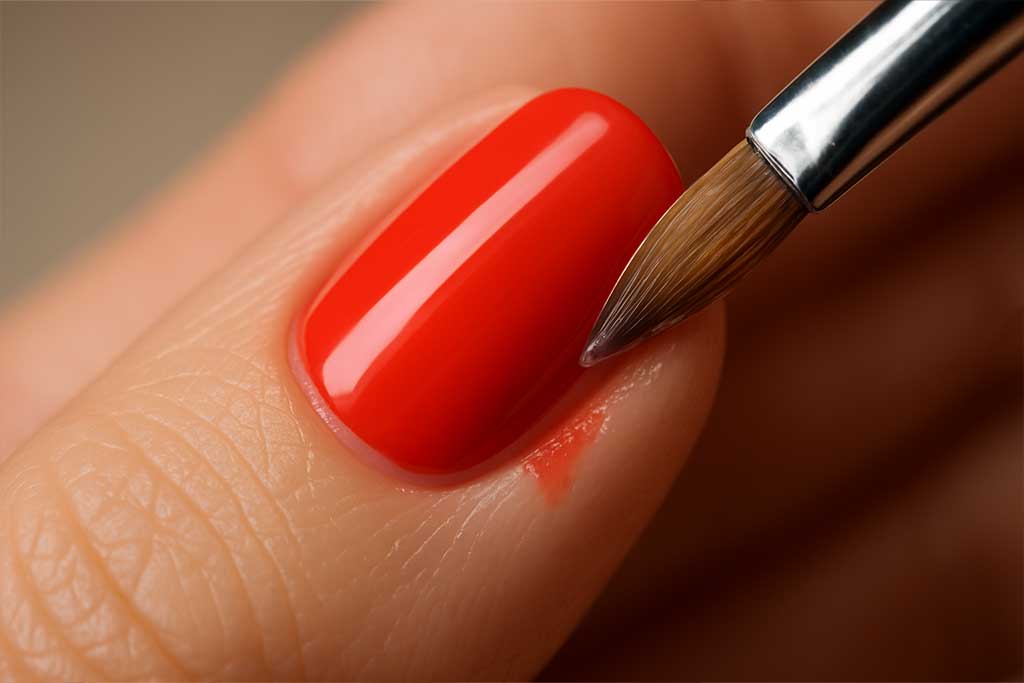
c. Adding a Touch of Sparkle: Glitter Accents
Glitter nail polish can instantly elevate your look, adding a touch of fun and glamour. While glitter can be eye-catching, it’s essential to use it wisely to avoid overpowering your design.
How to Incorporate Glitter Without Overdoing It
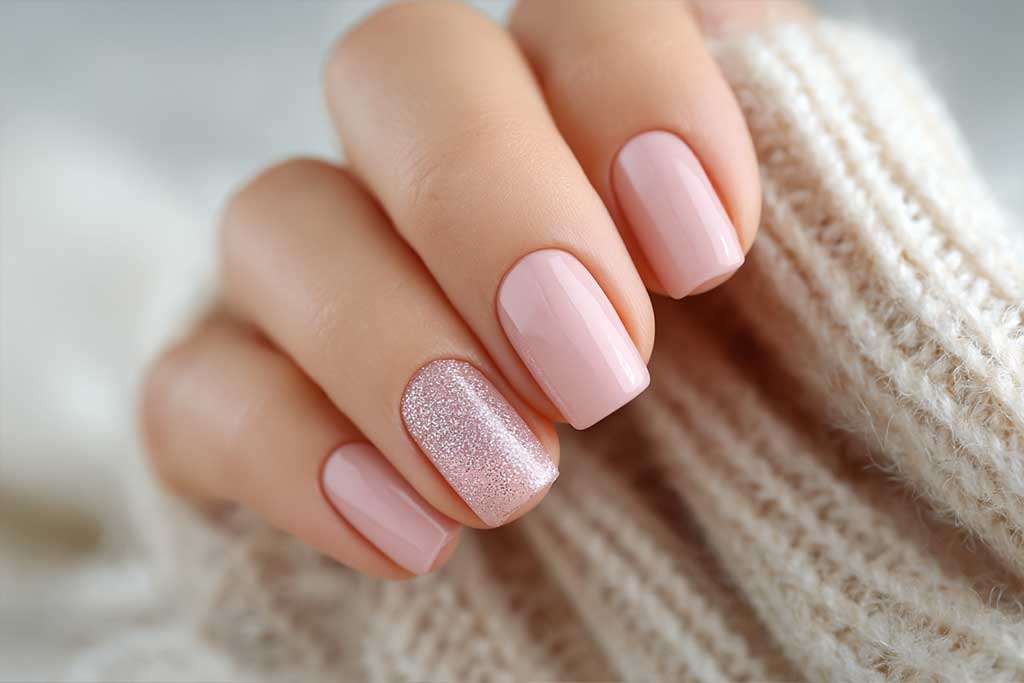
One of the best ways to incorporate glitter into your feminine nail art is by focusing on just a few nails. Rather than covering your entire nail with glitter, try using it as an accent on one or two nails. This creates a balanced, elegant look while still offering a bit of sparkle.
Easy Ways to Apply Glitter
- Accent Nails: Paint one or two nails with glitter while keeping the rest of your nails in a soft, pastel shade.
- Glitter Tips: For a playful twist on the classic French tip, use glitter polish on the tips of your nails instead of white or color.
- Glitter Ombre: Use a makeup sponge to create a glitter ombre effect, starting at the tip of your nails and fading as you move toward the base.
Tools and Products for Glitter Application
When working with glitter polish, a good top coat is essential to ensure the glitter stays in place and doesn’t flake off. You can also use a liquid latex barrier around your nails for easy clean-up if the glitter gets on your skin. Dotting tools and fine brushes can also help you apply the glitter precisely where you want it, allowing for more detailed designs.
Adding a feminine touch to your nails with glitter accents can reflect more than just your artistic side—it’s also a great way to celebrate and express your personality. In fact, if you’re on a journey of self-expression and breaking traditional norms, like Cindy in her 30-year crossdressing journey, experimenting with nail art can be an empowering form of self-discovery.

With these simple and stylish feminine nail art ideas, you’re ready to bring a touch of elegance to your nails. Whether you’re trying your hand at classic French tips, experimenting with pastel colors, or adding a bit of glitter sparkle, there’s no limit to what you can create! Let your nails become the canvas for your next artistic adventure.
3. Feminine Nail Art Techniques Every Beginner Should Try
Starting your nail art journey can feel overwhelming, but with the right techniques and tools, anyone can create beautiful designs at home. Whether you’re after delicate floral patterns, bold geometric shapes, or sleek stripes, these nail art techniques are perfect for beginners. Let’s break down some of the easiest and most stylish methods to get you started on creating your own feminine nail art.
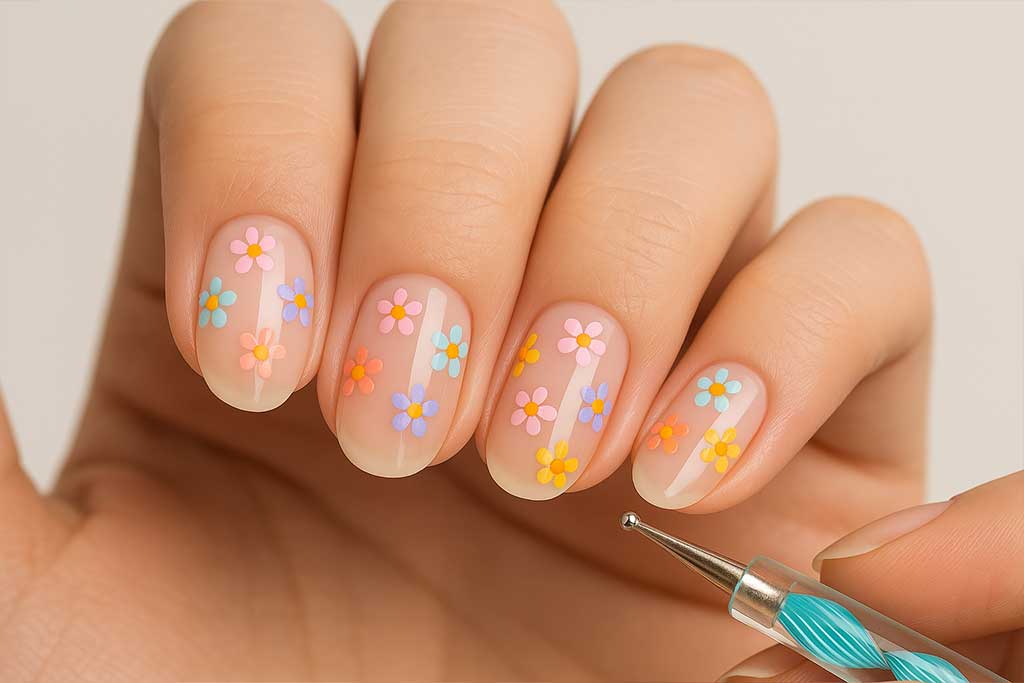
a. Dotting Tool Magic
One of the easiest and most versatile tools for nail art beginners is the dotting tool. This tool allows you to create simple designs that look impressive, even if you’re just starting. Whether you want to make playful polka dots, intricate flowers, or abstract patterns, the dotting tool is your go-to.
Step-by-Step Guide on How to Create Simple Dotted Designs
- Start with a Base Color: Begin by applying your favorite nail polish as the base. Light shades like pastel pink or nude work well as a backdrop for dotted designs.
- Dip the Dotting Tool in Nail Polish: Choose a contrasting color for your dots. Dip the tip of the dotting tool into the polish and lightly press it onto your nail to create a dot.
- Vary the Sizes of the Dots: For more dynamic designs, use different sizes of dotting tools or vary the pressure when making the dots to create larger or smaller circles.
- Seal with a Top Coat: Once you’re happy with your design, finish with a top coat to protect your work and add shine.
Tips for Creating Flowers, Polka Dots, and Abstract Art
- Flowers: Create a small dot in the center of your nail, then place smaller dots around it to form petals. You can use different colors to make your flower designs more vibrant.
- Polka Dots: For a playful, retro look, evenly space dots across your nails. You can also experiment with different colors to create fun patterns.
- Abstract Art: Don’t worry about perfect symmetry—randomly placing dots of varying sizes and colors can result in a chic, abstract design that’s uniquely yours.
b. Tape & Sticker Designs
Nail tape and stickers are essential tools for anyone just getting started with nail art. They help create clean, straight lines and allow you to easily incorporate shapes and patterns into your designs.
Using Nail Tape for Straight Lines and Geometric Patterns
Nail tape is perfect for beginners who want to create sleek, geometric designs without the hassle. Here’s how to use it:
- Apply a Base Coat: Start by applying a base color to your nails. Let it dry completely.
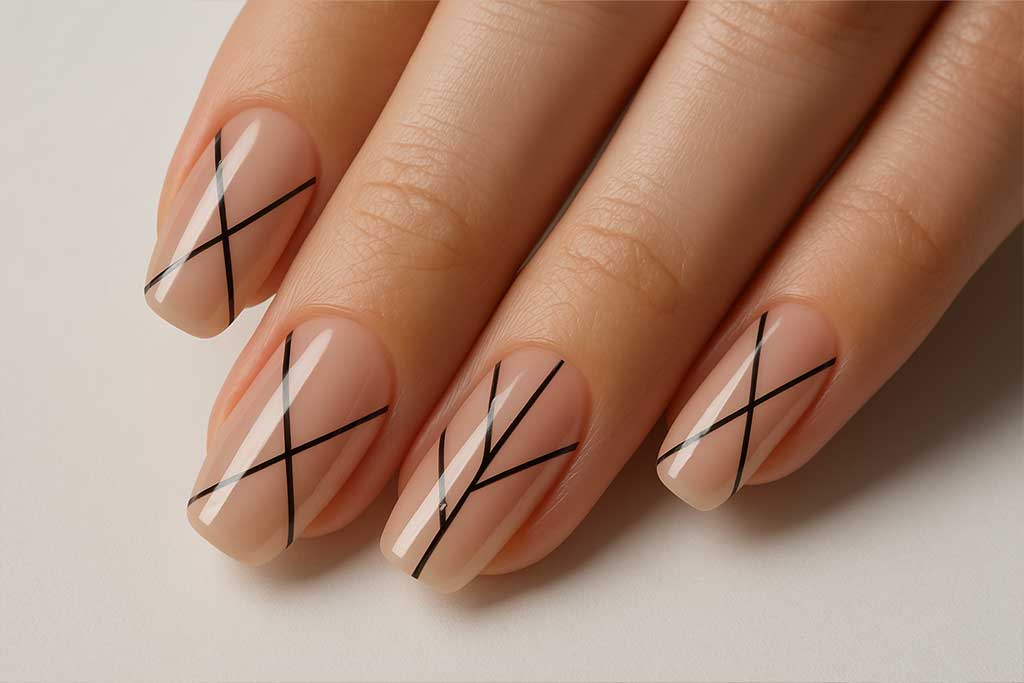
- Place the Tape: Once dry, place the nail tape where you want the lines to appear. You can experiment with crisscross patterns, diagonal lines, or even triangles.
- Paint Over the Tape: Choose a second color and paint over the tape. This creates a sharp contrast between the two shades.
- Remove the Tape: Gently peel off the tape before the polish dries to reveal your design.
- Top Coat for Protection: Seal the look with a clear top coat to smooth out any edges and protect the design.
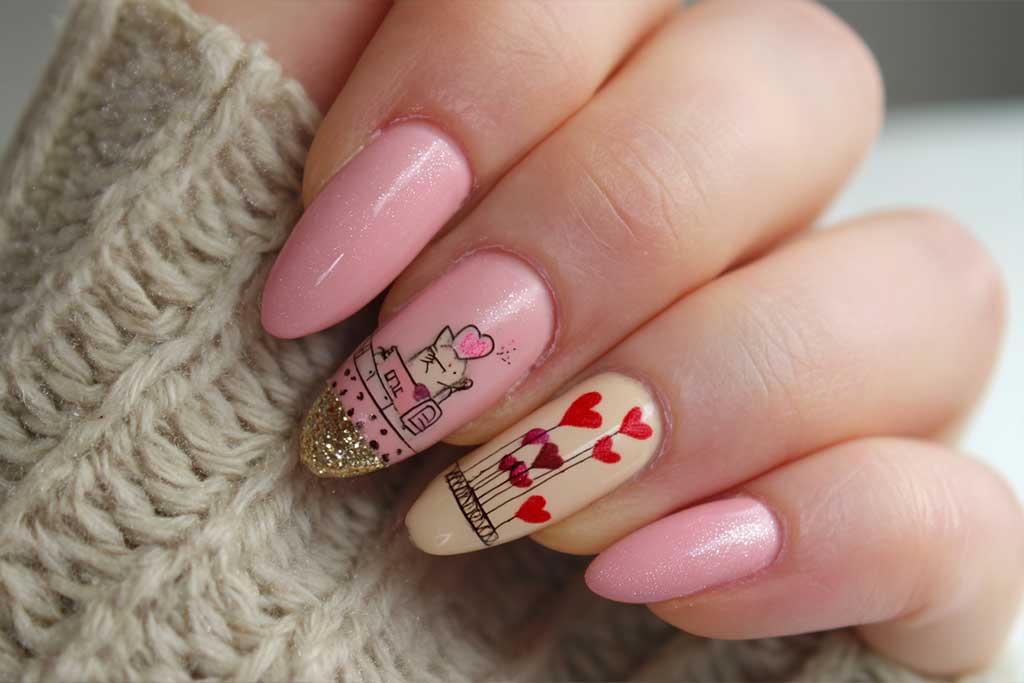
Simple Ways to Incorporate Hearts, Stars, and Feminine Shapes
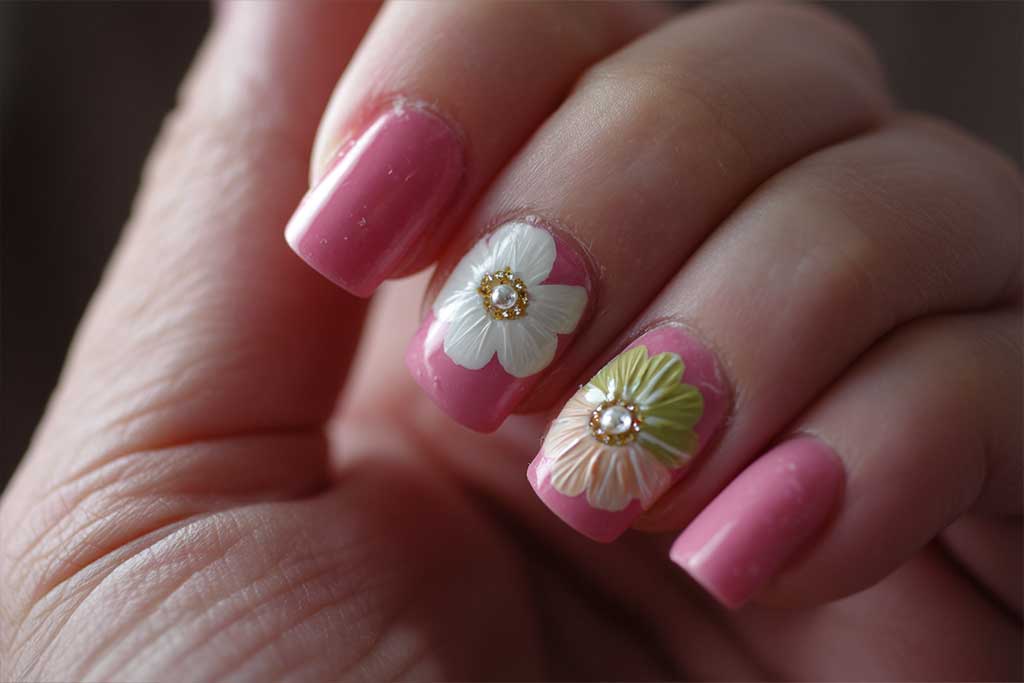
For a more feminine touch, use nail stickers to add shapes like hearts, stars, or flowers. Stickers are a quick and easy way to create detailed designs without freehand painting. Simply apply them over your base color and finish with a top coat to secure them in place. Stickers are also a great option if you’re looking for a way to change up your look for special occasions or just to match your mood.
If you’re interested in how personal journeys and creative expression intertwine, check out this inspiring crossdressing journey by Cindy, who has embraced her identity for over 30 years—proof that self-expression can take many forms, including beauty and style.
c. Feminine Nail Art for Beginners: Easy Stripes and Patterns
Striping tape is another essential tool for creating chic and minimalist nail art designs. With it, you can achieve perfectly straight lines and patterns with minimal effort.
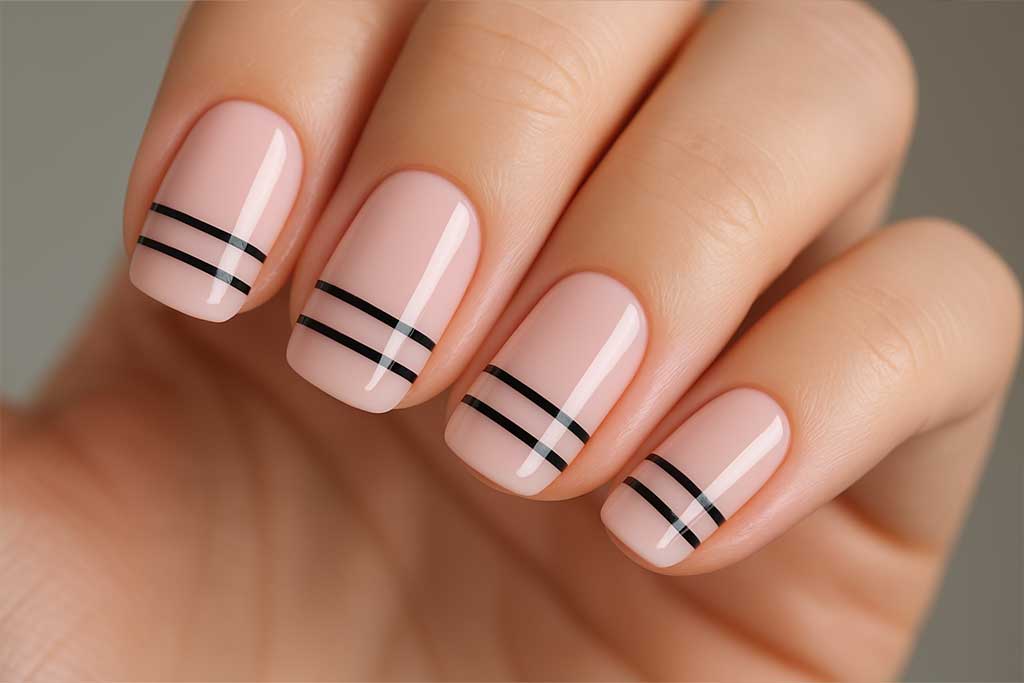
How to Use Nail Striping Tape
- Apply a Base Color: Start by painting your nails with a base color and letting it dry completely.
- Place the Striping Tape: Once your base is dry, carefully place the striping tape on your nails in the desired pattern. You can create vertical stripes, horizontal lines, or even complex crisscross patterns.
- Paint Over the Tape: Choose a contrasting color and paint over the tape to create sharp, clean lines.
- Remove the Tape: Remove the striping tape while the polish is still wet to avoid smudging.
- Top Coat for a Smooth Finish: Apply a clear top coat to protect your design and give your nails a smooth finish.
Tips for Layering Colors and Textures
You can get creative with nail striping tape by layering different colors or textures. For example, start with a matte base color and use a glossy polish for the stripes. You can also experiment with glitter polish or metallic finishes to make the stripes pop. This adds depth and dimension to your design, giving your nails a professional, polished look without the need for advanced techniques.
These beginner-friendly nail art techniques are the perfect starting point for anyone looking to elevate their manicure game. From dotting tool magic to easy stripes and patterns, these methods allow you to create stunning, feminine designs at home with minimal effort. So grab your tools, pick your colors, and let your creativity flow—your nails will thank you!
4. Finishing Touches: Maintaining Your Feminine Nail Art
After putting time and effort into creating the perfect feminine nail art, you want it to last. The finishing touches are crucial for sealing your designs, adding shine, and ensuring your nails look flawless for as long as possible. Whether you’re concerned about common mistakes or looking for tips to maintain healthy, polished nails, these tips will help keep your manicure looking salon-fresh.
The Importance of a Good Top Coat
One of the most critical steps in finishing your nail art is applying a high-quality top coat. Not only does it add a beautiful shine to your design, but it also seals your hard work, protecting the polish from chipping or fading. A good top coat can significantly extend the life of your manicure, keeping it looking fresh for days or even weeks.
Why You Should Never Skip the Top Coat
- Seal Your Design: A top coat acts like a protective layer, ensuring that your nail art, whether it’s intricate dots or glitter accents, stays intact.
- Adds Shine: The top coat provides a glossy finish that enhances the overall look of your manicure, giving it a professional, polished appearance.
- Prevents Chipping: One of the most common issues with nail polish is chipping. A strong top coat minimizes this risk, especially at the tips of your nails where polish tends to wear off quickly.
For maximum protection, reapply a top coat every few days to keep your nails shiny and protect the design from wear and tear.
Quick Fixes for Common Beginner Mistakes
Even with the best intentions, mistakes happen—especially when you’re a beginner. Whether it’s a smudge here or an uneven coat there, these quick fixes will help salvage your nail art without starting from scratch.
1. Smudging Your Polish
One of the most common mishaps is smudging freshly painted nails. If you accidentally smudge your polish before it dries, don’t panic! Gently smooth the area using a clean finger dipped in nail polish remover. Once it’s leveled, reapply a small amount of polish and finish with a top coat to blend everything together.
2. Uneven Coats
If you notice that your polish looks streaky or uneven, an extra layer can often solve the problem. Apply a thin coat of polish over the uneven areas and follow up with a top coat to smooth out the surface.
3. Overloading on Glitter
While glitter accents can add sparkle to your design, too much glitter can clump and look messy. If this happens, use a fine nail file to gently smooth out the glitter, then apply another thin coat of polish to even out the texture.
Nail Care Tips to Maintain Healthy, Polished Nails
Maintaining your feminine nail art isn’t just about keeping the polish intact—it’s also essential to take care of the nails themselves. Healthy nails provide the perfect canvas for stunning nail designs, and proper nail care will help your polish look better and last longer.

1. Hydrate Your Cuticles
Dry, cracked cuticles can ruin the look of even the best nail art. Keep your cuticles moisturized by applying cuticle oil daily. This not only keeps them looking neat but also prevents them from peeling or becoming damaged, which can affect your nail polish.
2. Regularly Trim and File Your Nails
Keeping your nails trimmed and filed will help prevent breaks and splits, which can ruin your manicure. Always file in one direction to avoid weakening the nails, and choose a nail shape that complements your style and is less prone to breakage, like rounded or oval nails.
3. Give Your Nails a Break
While it’s tempting to always keep your nails polished, it’s important to let them breathe every once in a while. Going polish-free for a few days allows your nails to recover from constant exposure to chemicals. During this time, focus on hydrating and nourishing your nails with oils and creams.
If you’re someone exploring their own unique self-expression journey, like Cindy in her 30-year crossdressing journey, nail care and style are an essential part of celebrating who you are. Your nails are an extension of your identity and can reflect your personal story in ways you might not even realize.
By following these tips, your feminine nail art will remain looking fresh and stylish long after you’ve applied the last stroke of polish. Remember, it’s not just about the initial design but also how you maintain and care for your nails that ensures lasting beauty. So, keep those nails healthy, shiny, and ready for your next artistic masterpiece!
5. Final Thoughts: Confidence in Experimentation
When it comes to feminine nail art, the beauty lies not just in the end result but in the process of experimentation. Nail art allows you to express your personality and creativity in a fun, tangible way. As you practice and experiment, you’ll find that your skills and confidence grow. The key is to enjoy the journey, embrace the mistakes, and above all, have fun with it!
Encouraging Creativity and Experimentation
One of the best things about nail art is that it offers endless possibilities. From trying out bold glitter accents to mastering the delicate art of French tips, there’s always something new to explore. Don’t be afraid to experiment with different colors, textures, and patterns. You might discover a design or combination you love just by trying something outside your comfort zone.
Remember, nail art doesn’t have to be perfect. Even the pros make mistakes—what matters is that you’re enjoying the process. Whether you’re practicing dotting tool magic or playing with new techniques like ombre gradients, the goal is to express yourself and have fun. Each time you try a new design, you’re learning and refining your skills.
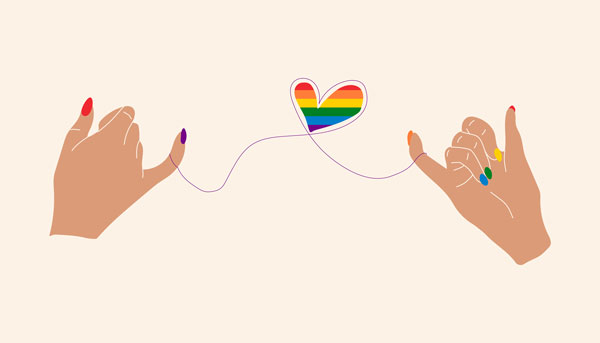
Nail Art as Personal Expression: There’s No Right or Wrong
At the core of feminine nail art is the idea that it’s a form of self-expression. There are no strict rules to follow, and no right or wrong way to do it. The designs you choose reflect your mood, personality, and creativity. Whether you’re feeling elegant with soft pastel hues or bold with intricate patterns, your nails tell a story about you.
Nail art can also be a way to explore identity and celebrate personal journeys. For example, Shannon’s story of self-expression and crossdressing showcases how something as simple as nail polish can play a significant role in embracing and presenting your true self. If you’re curious about such empowering journeys, you can read more about it here.
The beauty of nail art is that it’s entirely personal. You can create something simple and stylish, or you can go all out with bold, artistic designs. The key takeaway? It’s your canvas, and you get to decide what goes on it.
Try New Styles and Share Your Progress
Now that you’ve explored various beginner-friendly nail art techniques, it’s time to get creative! Don’t be afraid to step outside the box and try new styles. Whether you’re adding a glitter accent, experimenting with pastel shades, or testing out geometric patterns, the possibilities are endless. Start small, then work your way up to more intricate designs as your confidence grows.
We’d love to hear about your journey with feminine nail art! Share your progress, favorite designs, or tips you’ve learned along the way. Whether you’re a nail art newbie or a seasoned pro, the nail art community is full of inspiration and creativity, and sharing your journey can inspire others as well.
With a little practice and a lot of experimentation, you’ll soon find your unique style in the world of nail art. Confidence comes from trying new things, making mistakes, and learning from them. So grab your nail polish, embrace your creativity, and let your nails become your newest form of self-expression.
Key Takeaway Box: Essential Tools and Techniques for Feminine Nail Art Beginners
Starting your feminine nail art journey doesn’t have to be overwhelming. With the right tools and techniques, anyone can create stylish, professional-looking designs at home. Below is a quick overview of must-have supplies and simple techniques to help you get started. Use this checklist to ensure you have all the essentials before diving into your next nail art project.
Must-Have Nail Art Supplies Checklist
- Nail Polish in Basic Shades
- Soft pastels, neutral nudes, or classic pinks.
- Great for creating feminine nail art and building your base color palette.
- Clear Base Coat
- Protects nails from staining and provides a smooth surface for polish.
- Increases the longevity of your nail art.
- Top Coat
- Adds shine and seals your design to prevent chipping.
- Opt for a high-quality top coat to maintain the durability of your designs.
- Nail Art Brushes
- Fine-tipped brushes for detailed designs like flowers, stripes, and swirls.
- A must for more intricate nail art techniques.
- Dotting Tools
- Ideal for creating simple dotted designs, floral patterns, or polka dots.
- Easy to use and perfect for beginners.
- Nail Striping Tape
- Helps create clean lines for geometric patterns and stripes.
- Great for minimalist designs or layering colors.
- Glitter Polish or Loose Glitter
- Adds a touch of sparkle to accent nails or tips.
- Can be used sparingly for subtle shimmer or in bold designs for added glam.
- Nail Stickers or Guides
- Perfect for beginners looking to create French tips or add shapes like stars and hearts.
- Easy to apply and remove, making nail art hassle-free.
- Nail Polish Remover and Cotton Pads
- Essential for fixing mistakes and cleaning up edges.
- Helps maintain a professional, polished look.
Essential Nail Art Techniques for Beginners
- French Tips: Use nail guides to achieve a clean, classic look.
- Dotting Tool Magic: Create simple dots, floral designs, or abstract patterns.
- Glitter Accents: Apply glitter to accent nails or use glitter tips for a subtle sparkle.
- Nail Tape for Geometric Designs: Perfect for beginners to add stripes or geometric patterns with precision.
By keeping these feminine nail art essentials in your kit, you’ll be ready to experiment with new designs and techniques confidently!
Share Your Feminine Nail Art Creations!
Now that you’ve explored the world of feminine nail art for beginners, it’s time to put your newfound skills to the test! Whether you’ve mastered the delicate French tips, experimented with glitter accents, or embraced soft pastel designs, we’d love to see your creativity in action.
Share Your Nail Art Designs and Tips
We encourage you to join the conversation by sharing your favorite beginner-friendly nail art designs in the comments below. Have a go-to technique that works every time? Or maybe you’ve discovered a unique way to make dotting tool magic happen? Let us know! Your tips and ideas can inspire others on their nail art journey.
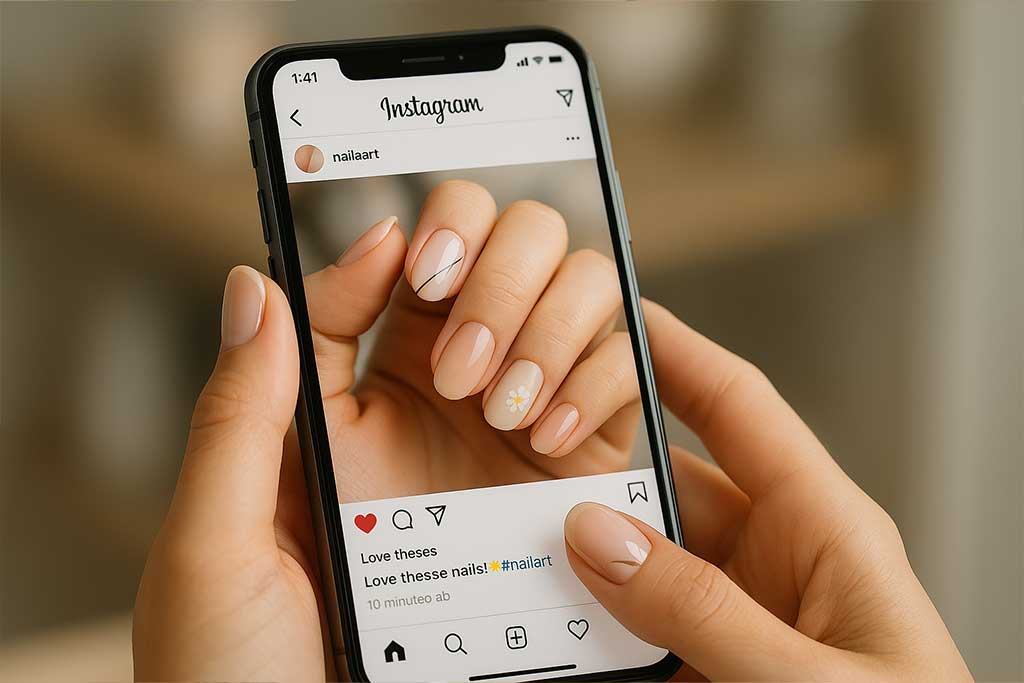
Try It and Tag Us on Social Media
Feeling inspired? Try one or two of the designs mentioned in this post—whether it’s a simple geometric pattern using nail tape or a soft pastel ombré effect—and don’t forget to show off your results! Share your finished look on social media and tag us so we can celebrate your nail art success together.
By experimenting and embracing your own personal style, you’ll not only grow in confidence but also contribute to the nail art community. So, grab your favorite polish, start experimenting, and let’s see what stunning creations you come up with. Your nails are your canvas, and there’s no limit to what you can create!
Leave a Reply